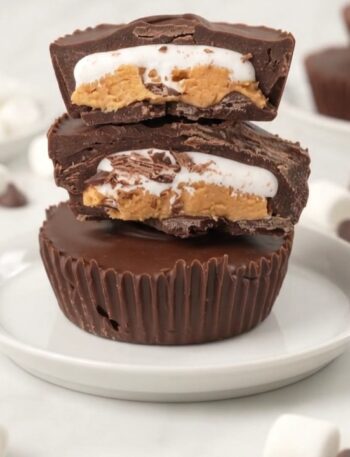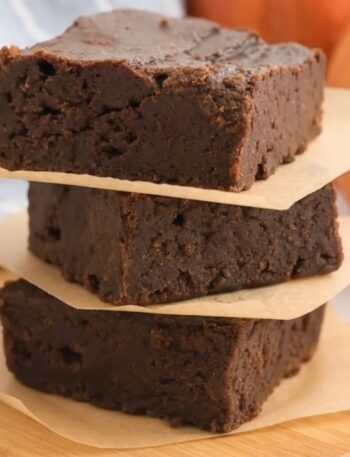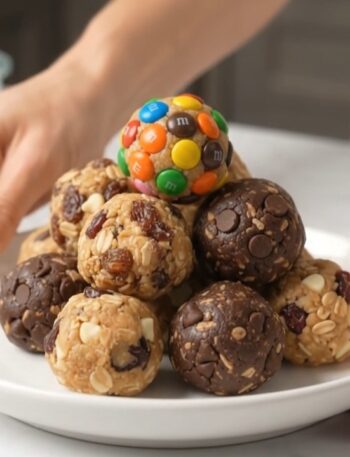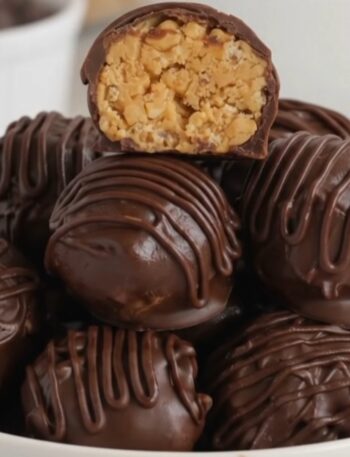
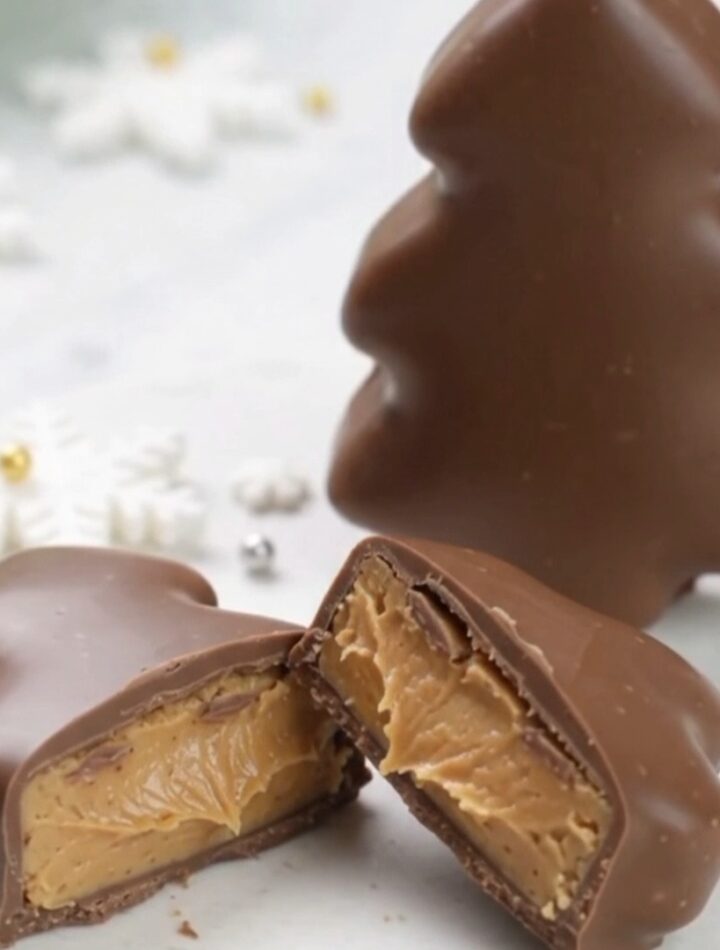
These chocolate peanut butter Christmas trees wrap a sweet, creamy peanut butter filling in a chocolate shell. Each bite has that familiar chocolate-and-peanut-butter flavor, with vanilla adding warmth to the center. A tree-shaped cookie cutter gives them a festive look without any complicated decorating.
They’re a fun addition to Christmas dessert trays, holiday gatherings, or an evening treat with hot chocolate. The filling mixes in one bowl, and you can gently reshape the scraps to make more trees. Plan for about 30 minutes of hands-on prep, plus time for freezing and setting. Serve them plain, add sprinkles, or finish with a drizzle of chocolate.
Why You’ll Love This Recipe
- No baking required: The freezer firms the filling, and the refrigerator sets the coating.
- Classic candy flavor: Sweet peanut butter and chocolate make a rich, satisfying combination.
- Simple shaping: A Christmas tree cookie cutter creates the festive outline.
- No mixer needed: Stir the filling together with a sturdy spoon or spatula.
- Easy decorating options: Sprinkles or a chocolate drizzle add a finishing touch.
- Reusable scraps: Reshape the leftover filling to cut additional trees.
Equipment
- 8 × 8-inch baking dish
- Parchment paper
- Mixing bowl
- Measuring cups and spoons
- Sturdy spoon or spatula
- Cutting board
- Christmas tree cookie cutter, approximately 1¾ × 2¼ inches
- Trays or baking sheets
- Microwave-safe bowl
- Fork for dipping
- Airtight storage container
Ingredients
The filling uses peanut butter, butter, two types of sugar, vanilla, and salt. Chocolate forms the coating around each frozen tree.
- 1 cup creamy peanut butter
- ¼ cup unsalted butter, melted
- 2 tablespoons brown sugar
- 2 teaspoons vanilla extract
- ¼ teaspoon salt
- 2 cups powdered sugar
- 10–12 oz chocolate chips or finely chopped chocolate, using half semi-sweet and half milk chocolate if desired
Ingredient Notes & Substitutions
Creamy peanut butter: Use creamy peanut butter for the smooth filling described in the recipe. Crunchy peanut butter would change the texture and the appearance of the cut edges.
Unsalted butter: Melt the butter before mixing it into the filling. Using unsalted butter keeps the separately measured salt in your control.
Brown sugar: Stir it into the peanut butter mixture before adding the powdered sugar, as directed.
Powdered sugar: This helps turn the peanut butter mixture into a thick, shapeable dough. Work it in gradually so it incorporates evenly. Granulated sugar isn’t a direct substitute.
Vanilla and salt: Vanilla rounds out the flavor, while salt balances the sweet filling.
Chocolate: Use chocolate chips or finely chopped chocolate. If combining semisweet and milk chocolate, use equal amounts within the 10–12 oz total.
How to Make Chocolate Peanut Butter Christmas Trees
- Line the baking dish. Line an 8 × 8-inch baking dish with parchment paper, leaving enough overhang to lift out the filling.
- Make the peanut butter dough. Stir together the peanut butter, melted butter, brown sugar, vanilla, and salt until well combined. Gradually work in the powdered sugar until a thick dough forms.
- Press the filling evenly. Press the dough into the prepared dish in an even layer, approximately ½ inch thick. Smooth the surface with a spatula.
- Freeze until ready to cut. Freeze until the filling is firm enough to cut cleanly. Lift it out using the parchment and place it on a cutting board.
- Cut out the trees. Cut the filling with a Christmas tree cookie cutter and transfer the shapes to a parchment-lined tray. Gently knead together the scraps, flatten them to the same thickness, and cut additional trees.
- Freeze the cutouts. Freeze for 45–60 minutes, until completely firm.
- Melt the chocolate. Place the chocolate in a microwave-safe bowl. Microwave in 30-second intervals, stirring after each, until smooth. If it feels hot, let it cool slightly while keeping it fluid.
- Coat the trees. Working with just a few frozen trees at a time, lower each into the chocolate using a fork. Coat completely, lift out, and gently tap off the excess. Keep the remaining cutouts frozen while you work.
- Set the coating. Place the coated trees on a fresh parchment-lined tray. Refrigerate until the chocolate coating is set.
Tips for Success
- Leave enough parchment overhang. It makes lifting the frozen filling out of the dish much easier.
- Keep the filling evenly thick. Aim for approximately ½ inch throughout, including any reshaped scraps.
- Use firmness as your cutting cue. The initial freezing time isn’t specified; the filling should hold a clean outline when cut.
- Handle the scraps gently. Knead just enough to bring them together before flattening and cutting again.
- Dip in small batches. Keeping most of the cutouts frozen helps preserve the tree shapes.
- Check the chocolate before dipping. It should be fluid but not hot enough to quickly soften the filling.
- Decorate at the right stage. Add sprinkles before the coating sets, or drizzle with extra melted chocolate afterward.
Variations
These optional variations leave the peanut butter filling unchanged.
- Semisweet chocolate trees: Use semisweet chocolate for the entire coating amount.
- Milk chocolate trees: Use milk chocolate for a sweeter shell.
- Sprinkled Christmas trees: Add festive sprinkles while the coating is still wet.
- Chocolate-drizzled trees: Let the coating set, then decorate with extra melted chocolate.
How to Store
Keep the finished trees in an airtight container in the refrigerator. Place parchment paper between stacked layers to prevent sticking.
You can also freeze them for longer storage, keeping them in a freezer-safe airtight container with parchment between layers.
Refrigerator and freezer storage durations: [Not provided].
Thawing instructions: [Not provided].
Serving Suggestions
- Arrange the trees on a Christmas candy platter with other small holiday sweets.
- Serve them with coffee or hot chocolate after dinner.
- Add them to a dessert tray for a holiday party.
- Mix plain, sprinkled, and drizzled trees on the same platter for a festive presentation.
Frequently Asked Questions
What size cookie cutter should I use?
A Christmas tree cutter approximately 1¾ × 2¼ inches gives roughly 18 trees. The final yield depends on the cutter size and filling thickness.
How long does the filling need to freeze before cutting?
An exact initial freezing time wasn’t provided. Freeze until firm enough to cut cleanly. Once shaped, the trees need another 45–60 minutes in the freezer before dipping.
Why are my chocolate peanut butter Christmas trees losing their shape?
The filling may be too soft, or the melted chocolate may be too hot. Freeze the cutouts until completely firm, work with only a few at a time, and let hot chocolate cool slightly before dipping.
Can I reshape the leftover filling?
Yes. Gently knead the scraps together, flatten them to approximately ½ inch thick, and cut more trees. Freeze those cutouts before coating them, too.
Can I use chocolate chips instead of chopped chocolate?
Yes. Both are included as options. Melt the chocolate in 30-second microwave intervals, stirring after each until smooth.
Can I freeze the finished trees?
Yes. The recipe allows freezing for longer storage. Separate layers with parchment paper and use an airtight container. A specific freezer duration and thawing method weren’t provided.
Recipe Card
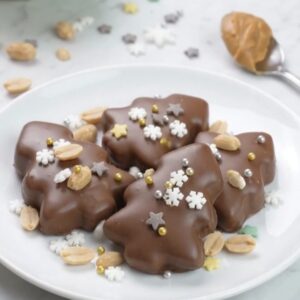
No-Bake Chocolate Peanut Butter Christmas Trees
Equipment
- 8 × 8-inch baking dish
- Parchment paper
- Mixing bowl
- Measuring cups and spoons
- Spoon or spatula
- Cutting board
- Christmas tree cookie cutter
- Tray or baking sheet
- Microwave-safe bowl
- Fork
Ingredients
- 1 cup creamy peanut butter
- ¼ cup unsalted butter melted
- 2 tablespoons brown sugar
- 2 teaspoons vanilla extract
- ¼ teaspoon salt
- 2 cups powdered sugar
- 10 –12 oz chocolate chips or finely chopped chocolate using half semi-sweet and half milk chocolate if desired
Instructions
- Line an 8 × 8-inch baking dish with parchment paper, leaving an overhang.
- Stir together the peanut butter, melted butter, brown sugar, vanilla, and salt. Gradually work in the powdered sugar to form a thick dough.
- Press into the dish in an even layer, approximately ½ inch thick. Smooth the top.
- Freeze until firm enough to cut cleanly. Lift out onto a cutting board.
- Cut out trees and transfer to a parchment-lined tray. Gently knead the scraps together, flatten to the same thickness, and cut more trees.
- Freeze the cutouts for 45–60 minutes, until completely firm.
- Melt the chocolate in 30-second microwave intervals, stirring after each until smooth. Let it cool slightly if hot, keeping it fluid.
- Dip a few frozen trees at a time using a fork. Coat completely and gently tap off excess chocolate. Keep the remaining cutouts frozen.
- Place on a fresh parchment-lined tray and refrigerate until the coating sets.